10. Administration Settings
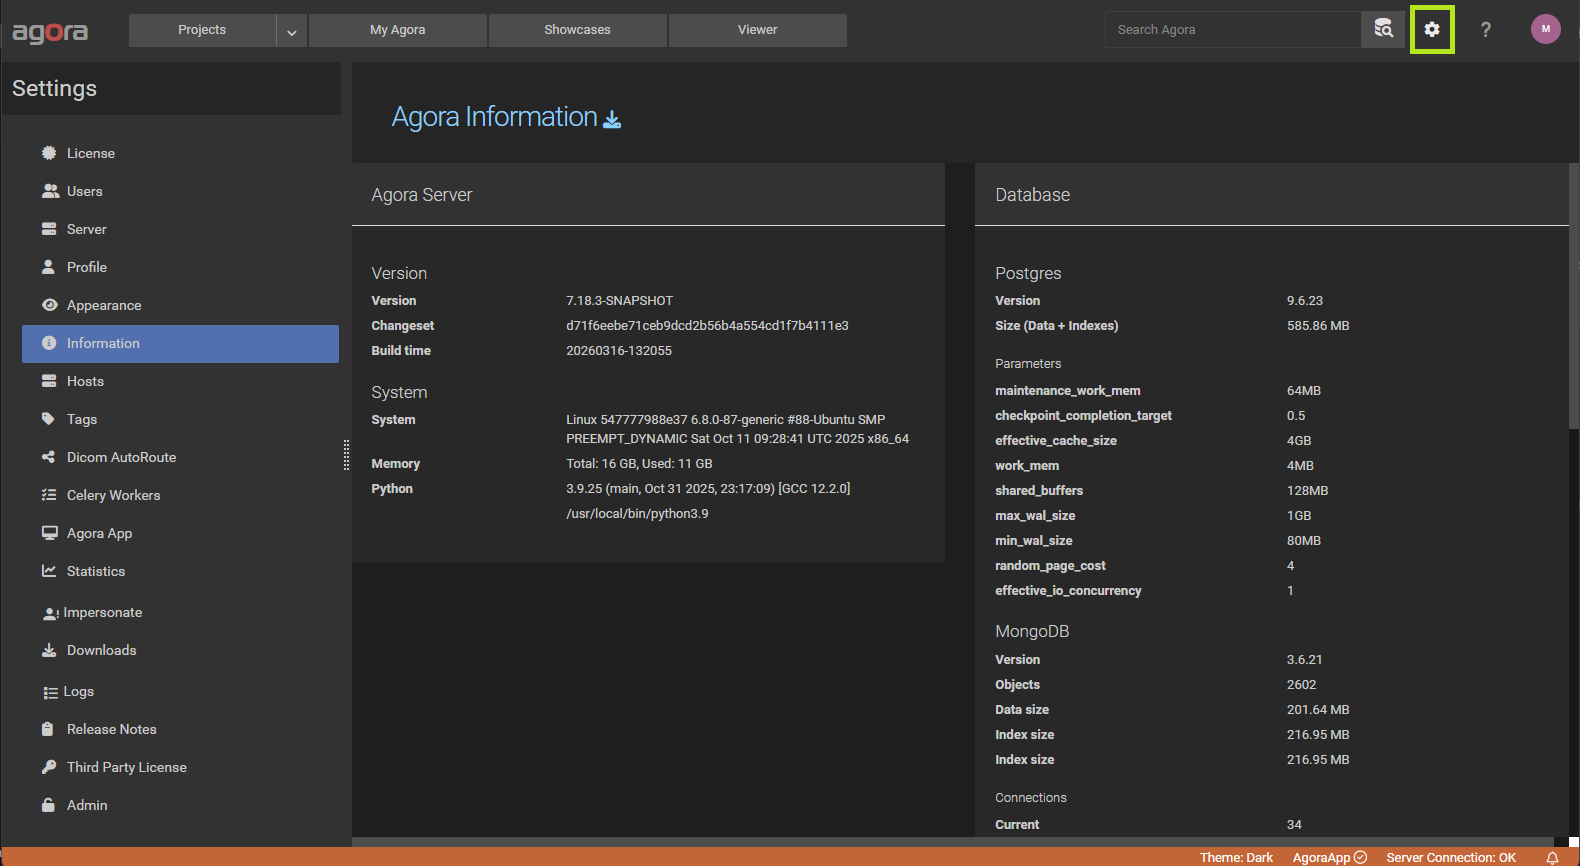
The administration settings are accessible to superusers via on the upper right of the page. They control server-wide behaviour, authentication, email, and user management.
10.1. General Settings
Navigate to Settings → Server → General.
10.1.1. Hostname
Agora Hostname — the public hostname of the Agora server (e.g.
agora.example.com). This value is used to generate links in notification emails and is available as the{{ host.address }}variable in task definitions.
10.1.2. Registration
Allow registration — when enabled, anyone with access to the Agora URL can create their own account. Disable this to restrict account creation to administrators only.
10.1.3. Authentication
Two-Factor Authentication (2FA) — enables 2FA system-wide. When enabled, users are required to set up a one-time password (OTP) authenticator on their next login.
Allow API Key Login — when enabled, users can authenticate using API keys (e.g. from scripts or connector libraries). Disable to restrict all access to username/password or SSO.
10.1.4. Single Sign-On (SSO)
One or more SSO providers can be configured to allow users to log in with institutional credentials. Three provider types are supported:
OpenID Connect
Name — display name shown on the login page.
Alias — unique internal identifier for the provider.
Client ID / Client Secret — OAuth 2.0 credentials issued by the identity provider.
Discovery Endpoint — URL to the OpenID Connect discovery document (e.g.
https://hostname/realms/master/.well-known/openid-configuration).
SAML
Name / Alias — display name and unique identifier.
Metadata URL — URL to the SAML Identity Provider metadata.
Identity Provider Entity ID — the IdP entity identifier.
Service Provider Entity ID — the SP entity identifier registered with the IdP.
LDAP
Server Address / Port — hostname and port of the LDAP server (typically 389 for plain, 636 for TLS).
Secure LDAP using TLS — enable TLS encryption for the LDAP connection.
Admin Bind DN / Admin Bind Password — credentials used by Agora to search the directory (e.g.
cn=admin,dc=example,dc=com).
User search:
User Search DN — base DN for user lookups (e.g.
ou=people,dc=example,dc=com).User Search Scope — Base, One Level, Subtree, or Subordinate.
User ID Attribute — the LDAP attribute that maps to the Agora username (e.g.
uid).
Group search (optional):
Group Search DN / Group Search Scope — base DN and scope for group lookups.
Require Group — only users who are members of this group can log in.
Deny Group — users who are members of this group are denied access.
Superuser Group — members of this group are automatically granted superuser privileges.
10.1.5. Error Logging
Send error logs to admin users — when enabled, server errors are sent by email. By default all superuser accounts receive these notifications.
Error log recipients — a comma-separated list of email addresses that override the default superuser recipients.
10.1.6. User Feedback
Allow user feedback — enables a feedback button in the UI that lets users send comments to the administrators.
10.1.7. Download
Zip-Stream Download — enables streaming ZIP generation for browser downloads, which reduces temporary disk usage on the server. Disabled by default.
Max download size (in GB) — maximum size of a single browser download package. Available values: 1 GB, 5 GB, 10 GB, 20 GB. Only shown when Zip-Stream is disabled.
10.2. Mail Settings
Navigate to Settings → Server → Mail.
Agora sends transactional emails (password resets, notifications, error logs). Three modes are available:
GyroTools Mail Service — cloud relay managed by GyroTools. Emails are always sent from
agora-noreply@gyrotools.com. No additional configuration required.Mail Server — use your institution’s own SMTP server.
Do not use email — disables all outgoing email.
When Mail Server is selected, fill in:
Host / Port — SMTP server address and port.
From Email — the sender address that appears in outgoing emails.
Username / Password — SMTP authentication credentials.
Use TLS / Use SSL — encryption options for the SMTP connection.
Fail silently — suppress errors if email delivery fails.
Timeout — connection timeout in seconds.
Use the Send Test Mail button to verify the configuration before saving.
10.3. User Management
Navigate to Settings → Users.
The user list shows all registered accounts. Select a user to edit their profile, or click the button to create a new account.
Each account has:
Username / First Name / Last Name / Email — basic profile fields.
Password — set on creation; use the password reset function to change it later.
Active — inactive accounts cannot log in but are not deleted.
Superuser — grants full administration access.
2FA — shows whether two-factor authentication is active for the account. Administrators can reset a user’s 2FA device using the Reset button (useful when a user loses access to their authenticator app).
Allow API Key Login — overrides the global API key setting for this individual user.
10.4. Global Hosts
Navigate to Settings → Hosts.
Superusers can define hosts that are available to all projects across the entire Agora instance. Project members can import a global host into their project from the Host settings page. This is useful for shared compute servers that all teams should be able to use.
Global hosts are configured with the same fields as project-level hosts. See Hosts for a description of all host types and configuration options.
10.5. DICOM Auto-Routing
Navigate to Settings → DICOM Node.
Auto-routing rules control how incoming DICOM studies (received on the Agora DICOM node) are routed to projects. Rules are evaluated in order; the first matching rule is applied.
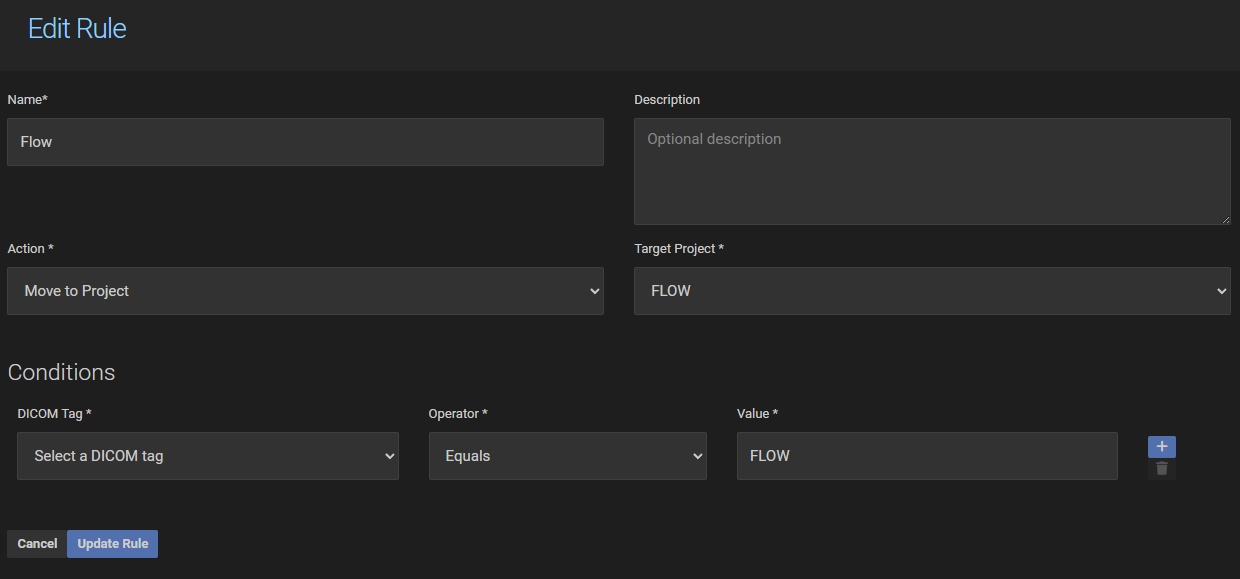
Each rule has:
Name / Description — label and optional description.
Enabled — inactive rules are skipped during evaluation.
Action — what to do when the rule matches:
Move to Project — route the incoming study to the selected project.
Ignore — discard the incoming study.
Target Project — the destination project (only shown when Action is Move to Project).
Conditions — one or more DICOM tag conditions that must be satisfied for the rule to trigger. Each condition specifies:
DICOM Tag — the tag to inspect (e.g.
0010,0020for Patient ID).Operator — Equals, Not Equals, Contains, Greater Than, Less Than, etc.
Value — the value to compare against.
Multiple conditions within a rule are combined with AND or OR logic.
10.6. Task Queue
Navigate to Settings → Task Queue.
The task queue monitor shows the current state of the Agora background worker system. Three tabs are available:
Tasks — active and recently completed background tasks.
Worker — status of the Celery worker processes.
Imports — ongoing and recent data import jobs.
This is a read-only diagnostic view useful for troubleshooting stuck tasks or slow imports.
10.7. Logs
Navigate to Settings → Logs.
Three tabs are available:
Crash Reports — application-level crash reports.
Log Files — raw server log files available for download.
Log Search — search across log files by keyword or time range.
10.8. Impersonate User
Navigate to Settings → Impersonate.
Superusers can temporarily log in as any non-superuser account to reproduce and debug user-specific issues. While impersonating, all actions are performed in the context of the target user. All impersonation sessions are logged.
Click Impersonate next to a user to start a session. A banner is shown at the top of the UI while impersonation is active. Click Stop impersonating to return to your own account.
Note
Impersonation is not available for other superuser accounts.
10.9. Admin Mode
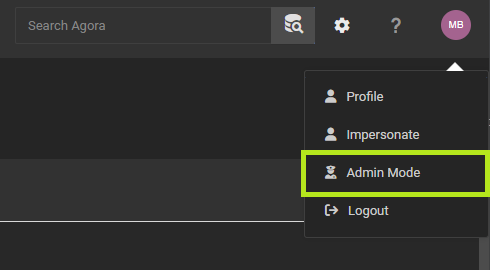
Admin mode is accessible from the user profile dropdown in the top-right corner of the page and is only visible to superusers.
When admin mode is active, the superuser has access to all projects on the system — including every user’s private MyAgora project and any project they have not been explicitly invited to. The project list displays all of these projects, with the owner’s username shown next to each MyAgora project so the administrator can identify whose workspace it is. The superuser can open, browse, and manage any project just as if they were a member.
The navigation bar turns red while admin mode is active as a clear visual indicator that elevated access is in effect.
To activate admin mode, open the user profile dropdown and click Admin Mode. To deactivate it, open the same dropdown and click Stop Admin Mode. Agora reloads the page when switching modes to ensure the view reflects the current state correctly.
Warning
Admin mode grants unrestricted access to all user data on the system. It should only be used when necessary for administrative or support purposes.
10.10. License
Navigate to Settings → License.
Agora requires a valid license to operate. Click Add new License and enter the activation token provided by GyroTools.
Existing licenses can be renewed or deleted from this page.